Adventure Travel Photography Tips
Alas! The days are gone where only the most skilled photographer would be sent on long drawn out photography missions around the globe.
Nowadays, any ambitious traveler can stake their claim in the travel photography world.
However, with mass photo sharing applications like Instagram and Facebook, it can seem a bit daunting for the aspiring travel photographer.
Uncharted Backpackers Guide to Adventure Travel Photography will help sort out basic questions like how to get your photos noticed, choosing the right travel camera, and how to make use of all those confusing buttons!
It’s time to become the travel photographer you always wanted to!
Travel Photography Tips For Beginners
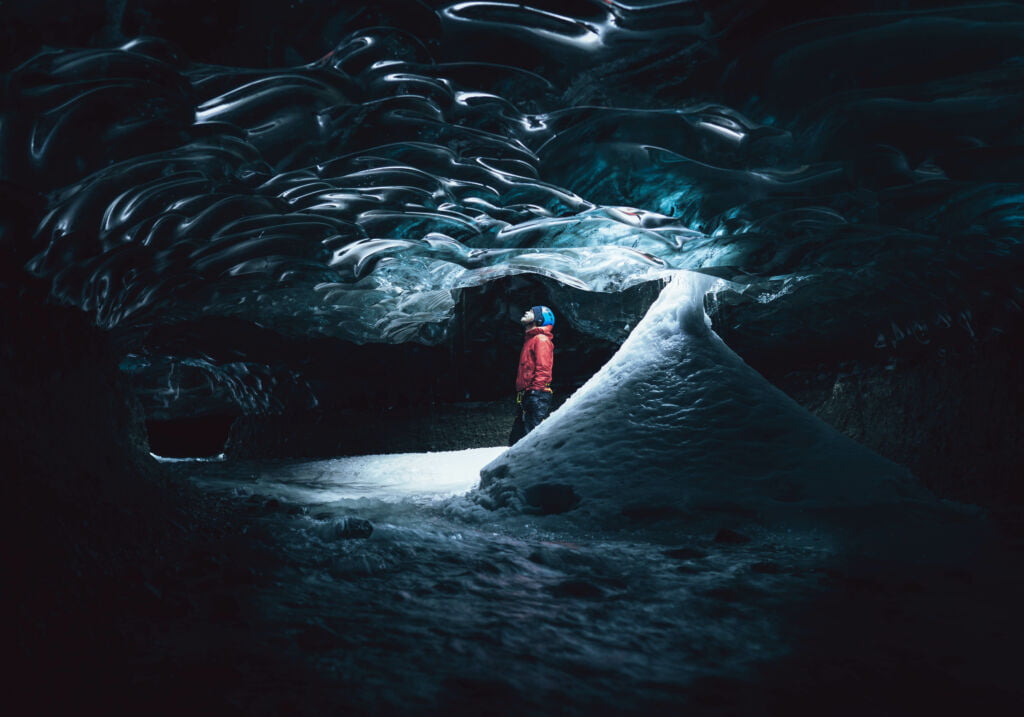
1. Be Unique, and Don’t Get Discouraged
Diving headfirst into the travel photography world can have you feeling overwhelmed.
With so many self-proclaimed travel adventurer/explorer/extreme/whatever, it can seem like an impossible task to get your photos noticed.
DON’T LET THIS STOP YOU.
And another thing. Don’t think that just because you don’t have a top of the line camera that you can’t get good pictures. Camera technology has gotten so good over the past few years that whatever you own should be capable of some incredible photos.
Let your photography be an extension of your imagination! Be different, but most of all, be you!
There is no exact science to do travel photography. But one thing is for sure, the travel photographers who get noticed, are the ones who shoot for something unique!
2. Always Have Some Sort Of Camera On You
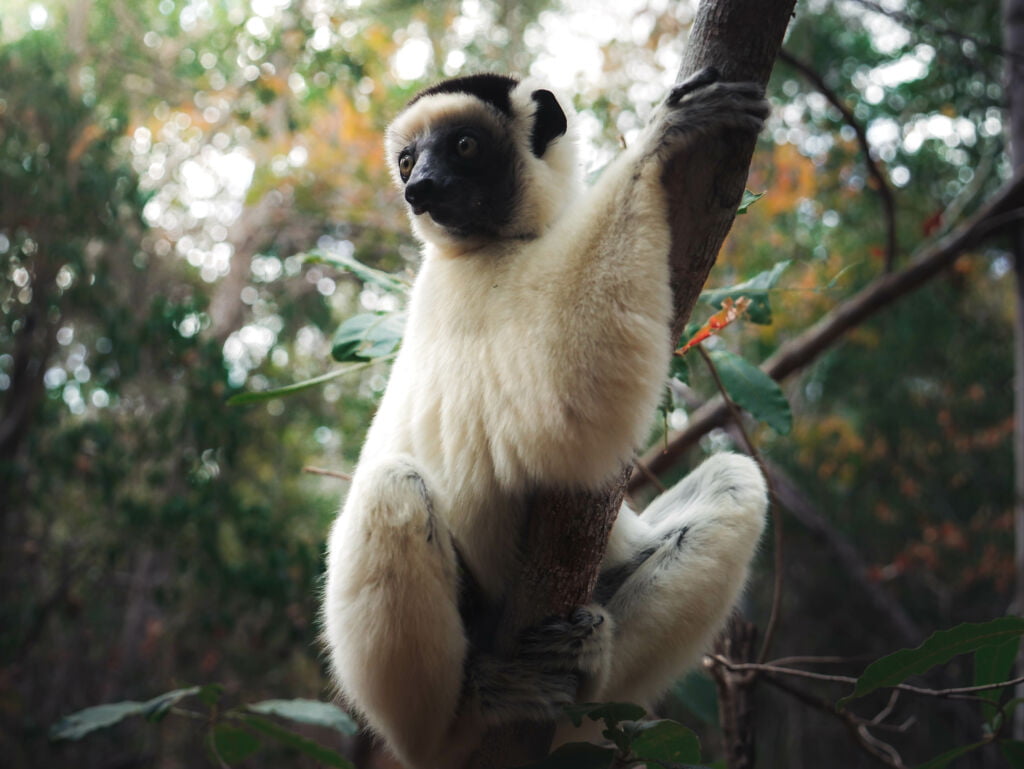
I cannot stress how important this is.
Whether I was being lazy, or I felt there wouldn’t be anything exciting that day, the times I left my camera behind at the hotel, were the times I missed some of what could have been the most amazing travel photography shots.
Leaving your camera behind, you might miss that one of a kind portrait, or an insane sunset.
Travel photography is always sporadic, my best shots are usually unplanned, and come out of nowhere.
It’s all about always being prepared, and having your gear with you. That doesn’t necessarily mean having all of your best gear, even if you have a newer smartphone on hand, you can capture some pretty incredible shots.
3. Practice Your Travel Photography. And Practice.. And Practice.
As the saying goes, practice makes perfect.
Like anything else, this is true with travel photography. Practice helps you create your own style of travel photography just like with any hobby or skill. It develops your techniques and artistic eye.
When you know the ins and outs of travel photography from practice you also begin to enjoy taking photos a lot more.
So check out YouTube tutorials, browse Instagram, and read a travel photography book.
Get inspired and just practice.
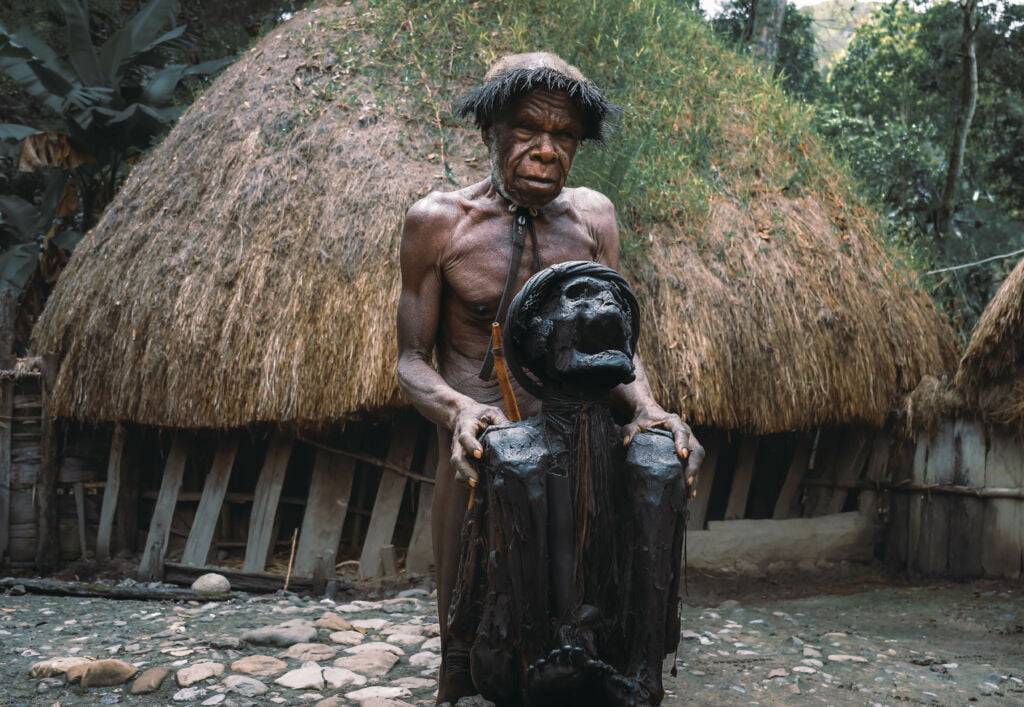
4. Talking with People and Getting Permission for Photography
I’m sure we can all agree that some of the best travel photography shots are of people least expecting the looming hidden photographer.
However, not asking permission of your portrait prospect can result in you being yelled at, having items thrown at you, being arrested, or some other unwanted things.
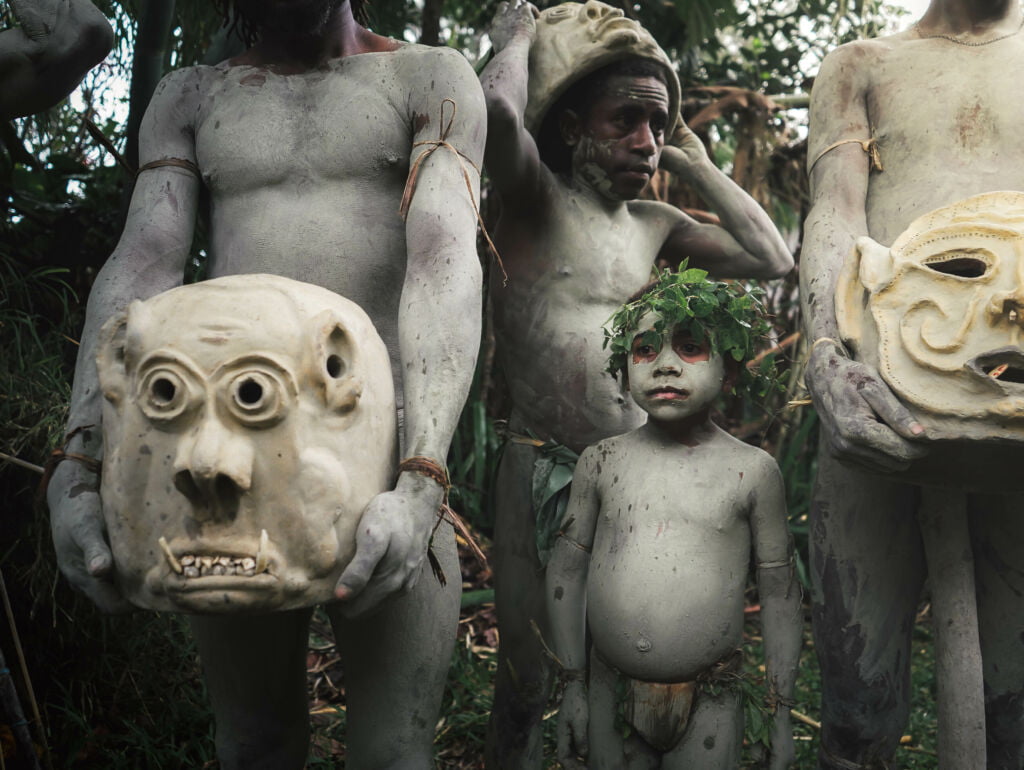
Best practice is to be respectful, ask permission, and take a chance that your subject will strike that NatGeo-worthy pose!
What Camera Should I Buy For Beginner Photography?
This topic obviously deserves its own post entirely. You can find a guide that I put together for this here.
Most photo snobs will tell you it’s all about Canon or Nikon. They may even tell you it’s about pixels and sensors. APC, Full Frame, doesn’t matter. You need the camera that is best suited for you.
For me, I wanted super high-quality images for my landscapes and portraits. I wanted a full frame to achieve the best quality, and something fast so I can catch the unexpected portrait, but most of all an all-around decent camera. This is why I chose the Sony A7Riv.
I know what your thinking… yes its very expensive!
Do not fret, I am not recommending it (unless you have the money). I’m just saying it works for what I want.
My best advice is to go into a camera store, not an electronic store that sells tv’s, a store that sells cameras and only cameras. Here you will find people who are passionate about photography and who can help you find the camera that best suits what you are looking for.
Make sure you try out a few before you buy it as well, this is important because you may not necessarily like certain features or brands.
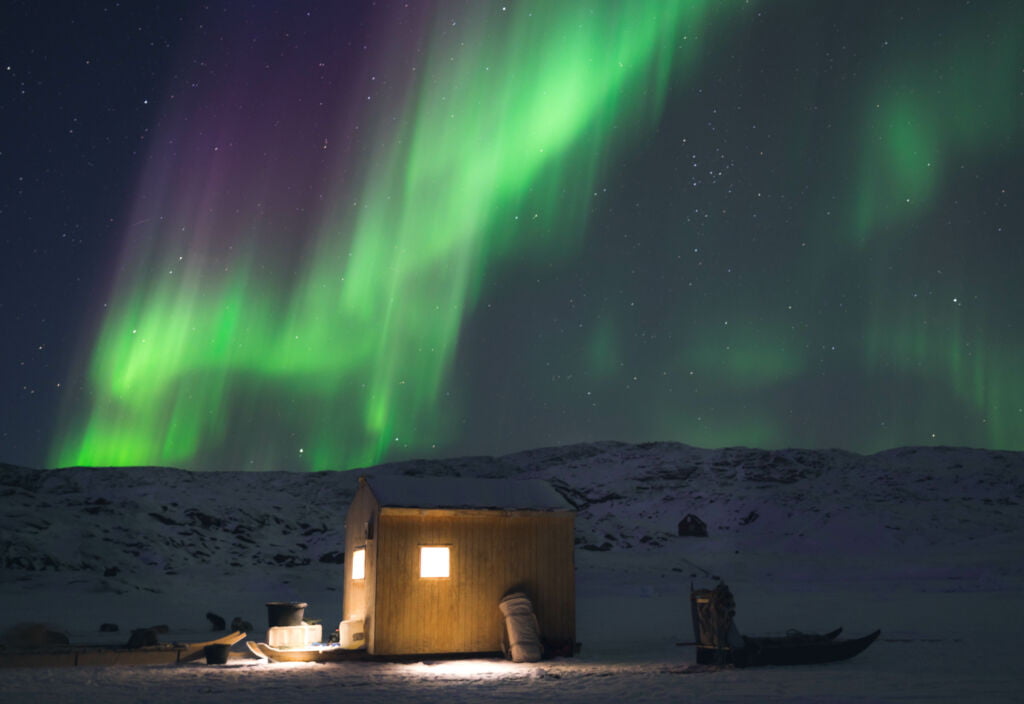
The Ways of the Camera
Like a Jedi Master, your camera is an extension of your arm, your photos are your soul and your techniques are your craft. No problem, right?
Well, you still need to know the basic functions of how cameras work before you can really jump into the deep end of travel photography.
Aperture for Beginners
Aperture controls how much light will be allowed into your camera and onto the sensor to create your image. It also affects the depth of field that will be in your image or the range of what will be in sharp focus.
If that made no sense to you, aperture settings can make those pretty pictures with out of focus backgrounds or foregrounds.
Aperture is measured in F-Stops and displayed as numbers like f5.6, f8, f11, f16, etc.
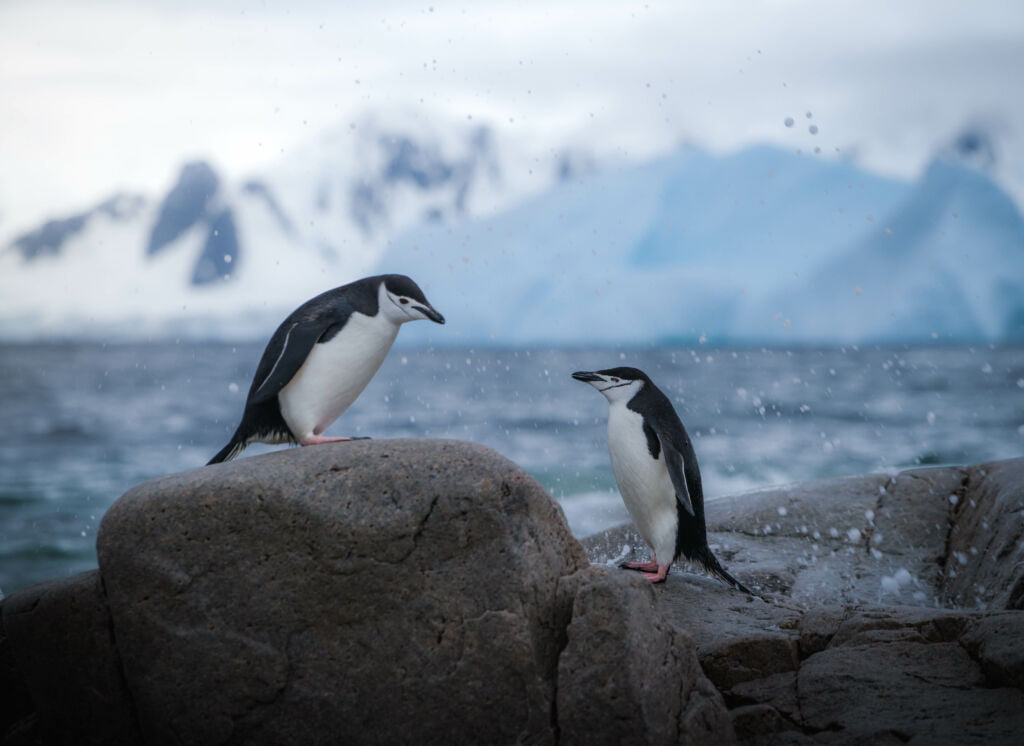
Simply put, the lower the F-Stop number the shallower the depth of field or the smaller the area of the image in focus.
Larger F-stop numbers will give you a wider depth of field and allow much more of the image to be in sharp focus.
For beginners, I would stick to f11 for landscape, and f2.8 – f4 for portraits.
What are Camera ISO Settings?
Ah yes the confusing world of ISO. For absolute beginners, setting your ISO to auto will suffice.
For those who would like to delve deeper into the art of ISO I would recommend checking out some youtube videos on it.
I find the videos by Mike Browne to be quite informative on this subject.
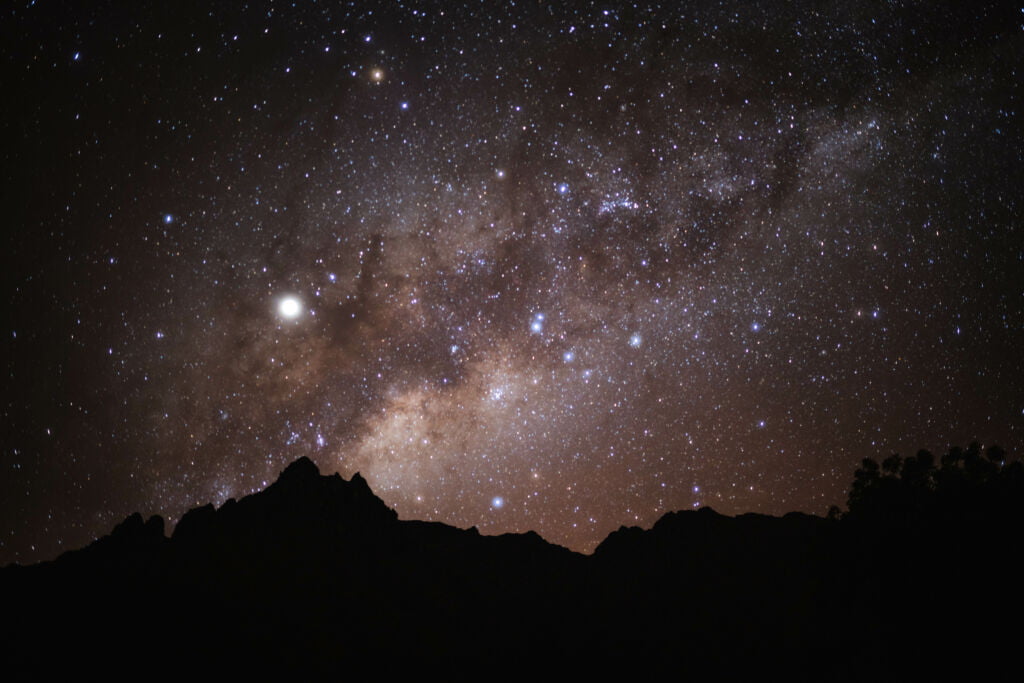
ISO is the sensor in your camera’s sensitivity to light. The lower ISO number the less noise there will be in a picture and the higher the numbers produce more noise.
You will want your ISO to be as low a number as possible to get the best quality photos. Darker situations will force you to increase this number, especially if you are not using a tripod.
What Does Shutter Speed Do?
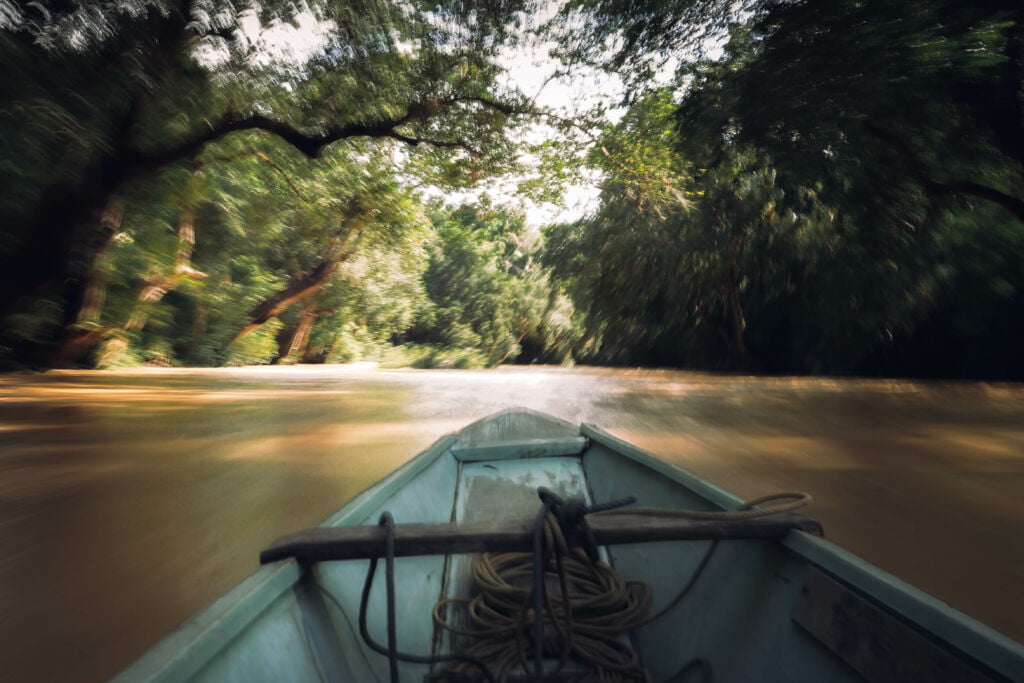
Do you ever see those awesome photos of someone standing in a busy subway station where only they are in focus and everyone moving around them is blurred? This is a product of the shutter.
The shutter speed means how long your camera’s shutter remains open to capture the image. This feature is great for creating a motion blur where portions of the image have movement.
A super-fast shutter speed is also great for freezing a scene if you’re shooting out from on a bus or train and want to snap a clear image out the window.
When shooting with a slow shutter you must remember that your camera has to be still, so usually, a tripod is essential.
What Does Manual Mode On A Camera Do?
This mode lets you take full control of your camera, and truly express your artistic skills.
In manual, you set both your shutter, ISO, and aperture separately.
It takes practice getting used to Manual, but it is definitely the best way to get used to your camera and learn the fundamentals of photography.
My Sony camera has the dials for Shutter and Aperture right beside the grip allowing you to adjust them while looking through the viewfinder. It is quite handy!
How To Plan A Photography Project + Scouting
Before I head out on my next adventure I always research the potential for great photography in each location.
There is a couple of ways that I go about doing this.
The first thing I do is Google Image search the location.
Using a search format like Yemen Travel Photography will give you the best results. This not only gives me inspiration for specific sites but gives me an overview of what there is to see in the country as well.
Of course, to get something that is unique you will have to dig through the most popular tourist locations. For example, if you search India, you will get the obvious shots of the Taj Mahal, but you need to look past those and find a unique perspective.
This is where Instagram becomes my next big inspiration resource. Instagram is a photo app where professionals and amateurs can have their go at photography. You get a good mix of styles. Looking up hashtags like #India will bring up a mix of photos that inspire all types of unique takes on the world.
The last way that I look into getting the shots I want is to buy guide books.
I find Lonely Planet has some of the best photography out there, with very unique and gorgeous shots that are often sourced from amateurs.
Guidebooks like Lonely Planet also give tips like when to go to certain places to beat the crowds or get the best lighting.
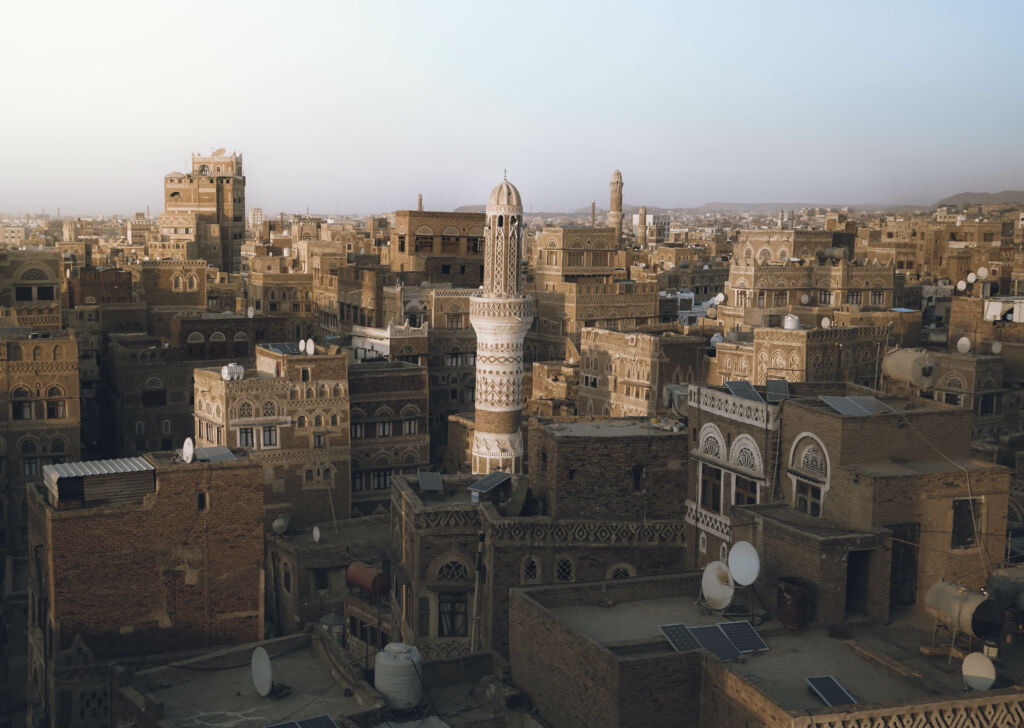
What is the best time of day for natural light photography?
Ever wonder how those travel photos you see have the absolute perfect shades of yellow and blue. Where the buildings are in such high definition, that you almost feel like you’re actually there!
This all has to do with light.
Travel photography is almost always shot in natural light. Being able to harness this light and use it properly is what makes a professional travel photographer.
Depending on the sight or photo you are planning to capture you are going to have to start taking into consideration at what time you should photograph because of the light.
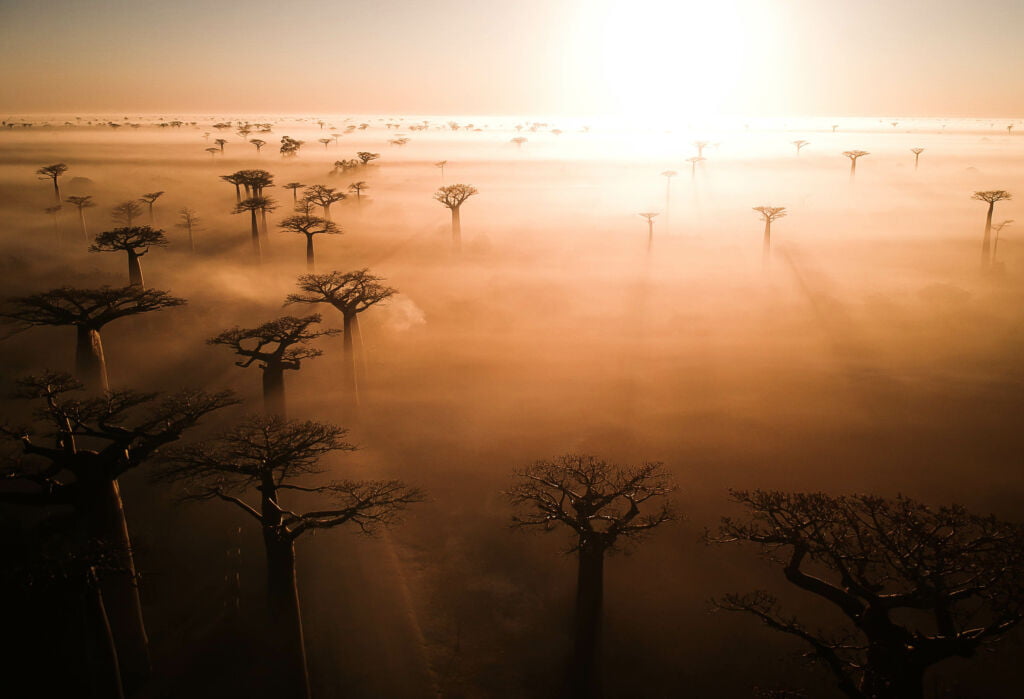
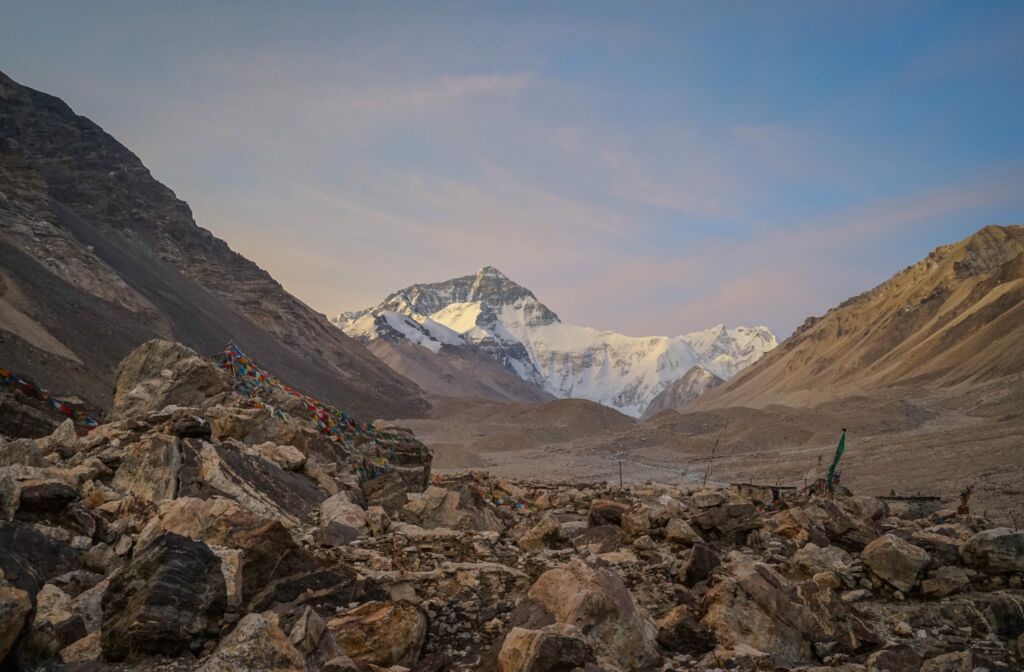
For me, I prefer photographing in the early morning. The air seems clearer, and the soft shades of yellow, blue and purple add so much contrast and definition to the photo. The morning also tends to be calmer, giving me better chances of getting more dramatic photos.
Why Composition Is Important In Photography
This is something you will hear a lot about, but probably not take too much consideration into it when you’re a beginner.
However, the composition is what truly sets you apart from the rookie travel photographers and makes you look like a professional travel photographer.
Following proper photography rules, you shouldn’t place the object of focus right dab in the middle of your photo.
While rules of composition can be broken at times, you must master the rules before you know when it will make sense to break them. When lining you photo up correctly there is a simple method to help you understand how the photo should look.
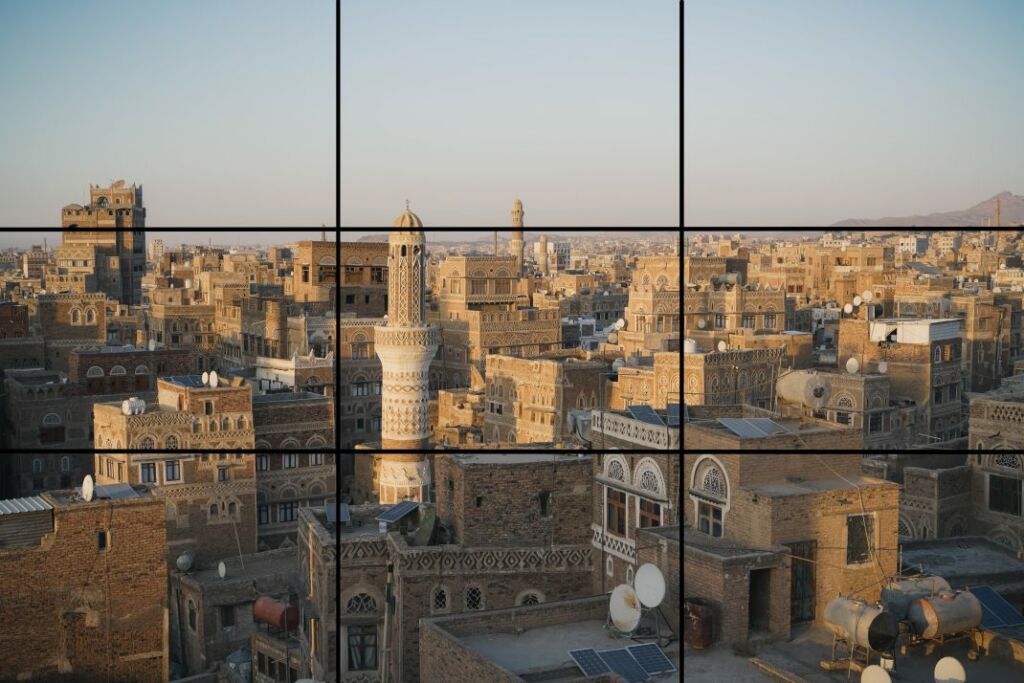
This method is the rule of thirds. Now imagine your photo is broken into nine individual squares. Many cameras actually come with an option to display this grid over your display. Now basically, the subject or the important aspects of a photo should be placed along these lines.
Now, these are only guidelines developed to help you make a more attractive photo. Some of the most famous photographers do go outside these guidelines to get creative, but when you’re first starting out it’s good to follow these to learn how composition works.
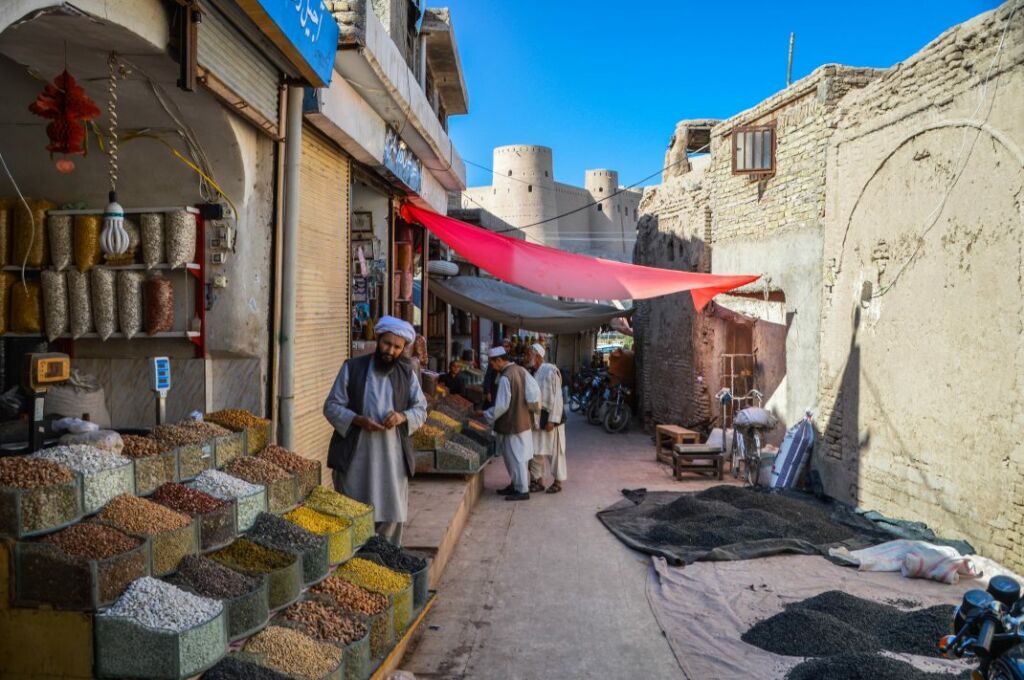
Travel Photography Timing and Patience
Timing is relevant depending on what you are photographing. This means you need to do research if you plan on photographing some places, why you ask?
Simply put, travel is very popular, and travel photography is just as popular! If you do not time your visits to certain sights you can get overrun by crowds ruining not just your shot, but your experience as well.
Some places you just won’t be able to beat the crowds, so you must make due.
Plan your day so you can spend extra time at a sight. Don’t ask people to get out of your shots, they have the right to be there as well, instead politely wait for them to move. Besides, you paid all this money to get here, why not while your waiting for your shot take the time to just truly enjoy where you are!
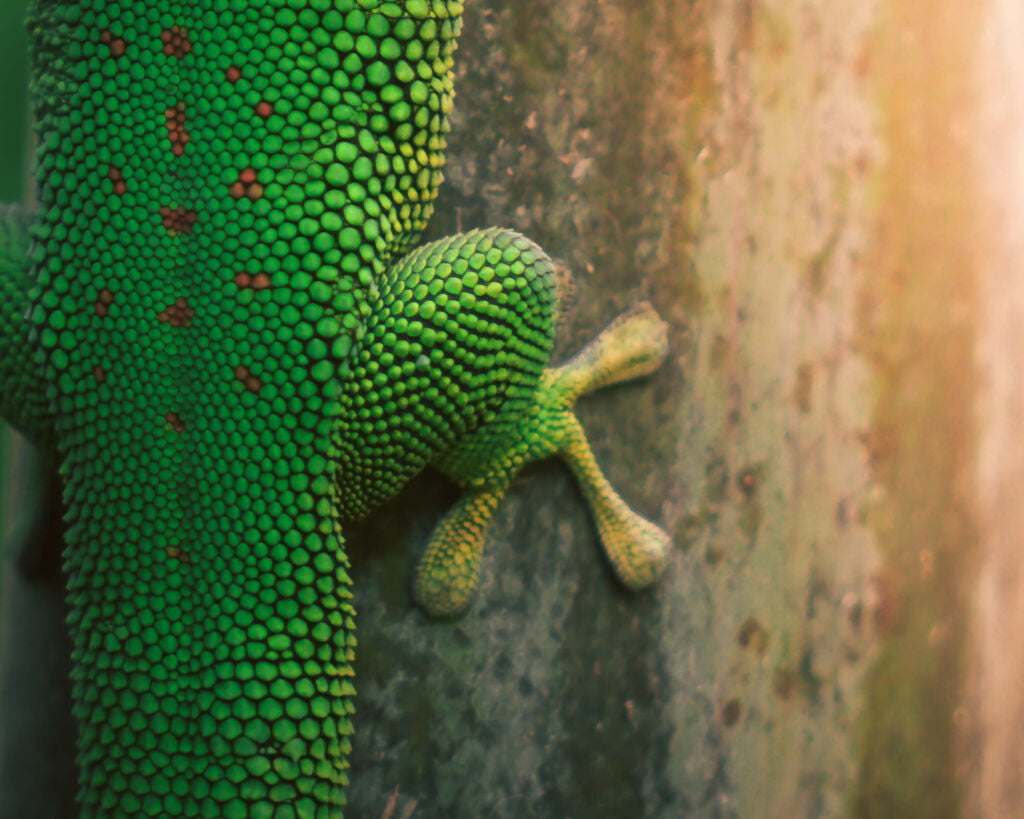
Photo Editing – Lightroom and Photoshop
Your trip is finished and you arrive home with thousands of great shots! As you start to dig through them you compare them to others and realize, the photos look so dull in comparison. Well, this is when the editing begins.
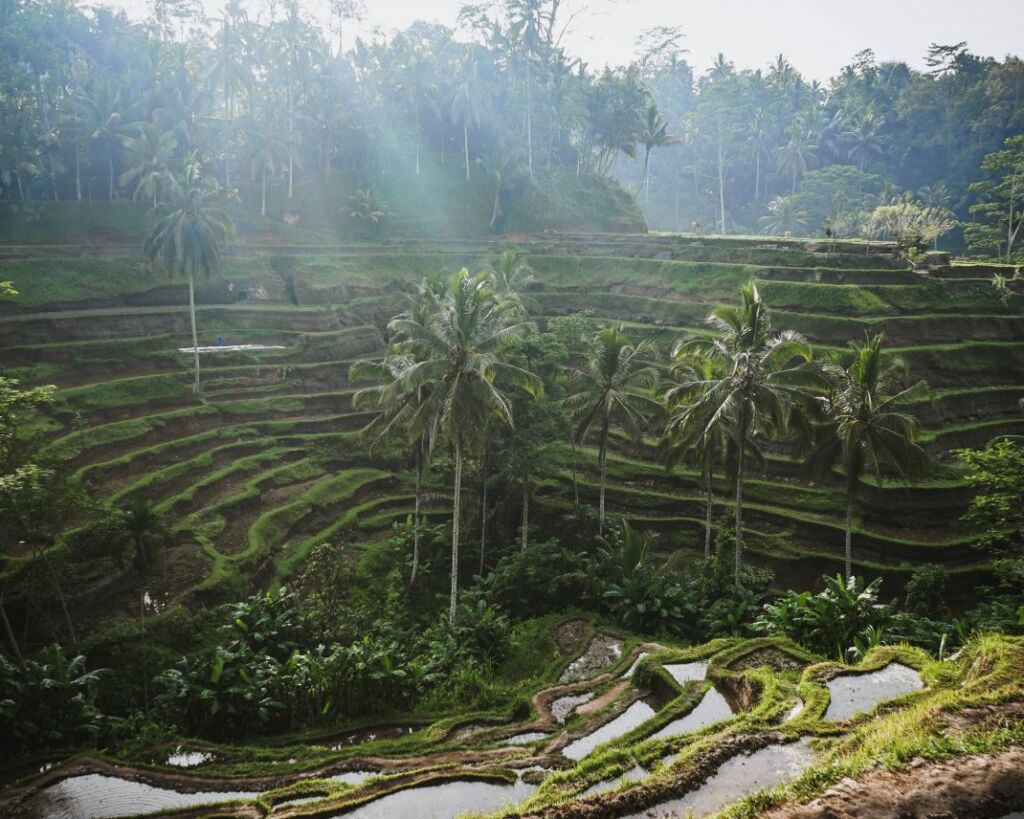
As my opinion goes, editing is essential, but you should try to keep the photo as natural as possible.
Some people do those hyper-vibrant, over-saturated photos, but for me, I like natural, sharp and clear.
To get my photos looking professional I use Lightroom and Photoshop. These two programs do very different things, and for the most part, I only use Lightroom, but let’s look into what they do.
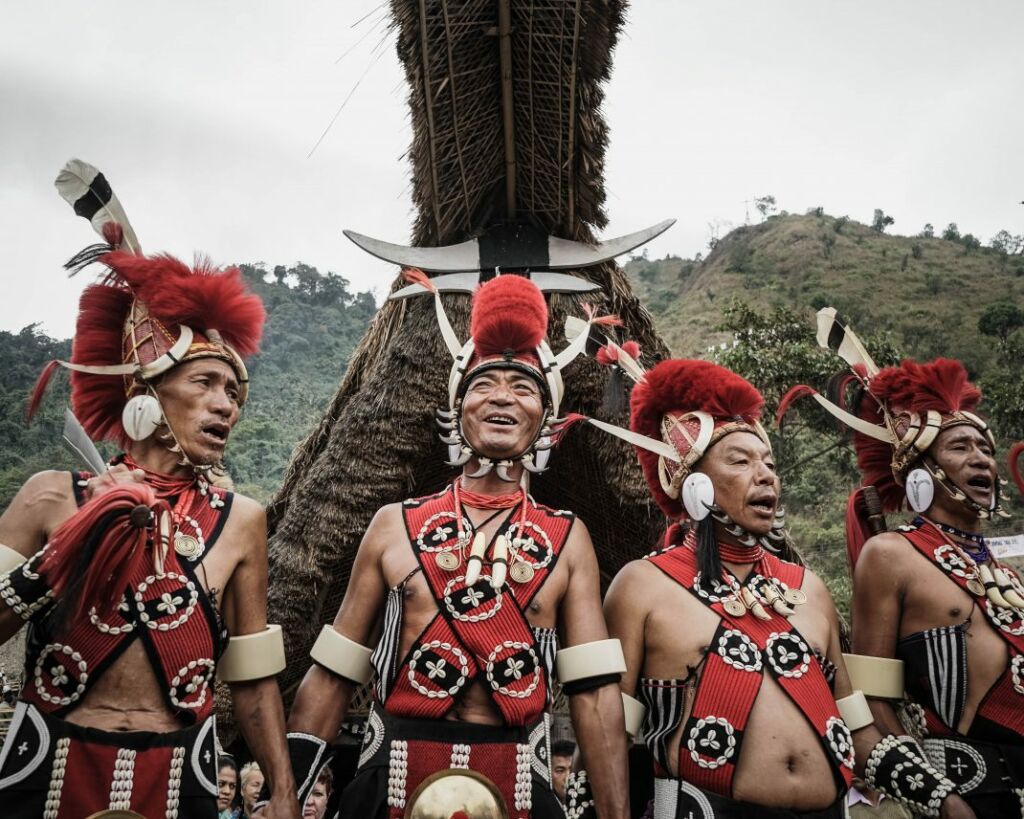
Lightroom is, in my opinion, the best travel photo editing tool out there!
It allows you to adjust – you guessed it – the light, but more importantly, you can work your colors, shadows, whites, highlights…. The list goes on.
This software is not the best for manipulating the photo, but simply enhancing what is already there!
Photoshop is what I use to clean up any mistakes in the photo.
For example, I used a UV filter on my lens and snapped some amazing photos that left strange black spots on the photo. Photoshop can erase these out without actually ruining the photo.
Photoshop has a bit more of a learning curve than Lightroom, but that’s where Youtube tutorials come in handy.
Do I need a tripod for travel? The importance of tripods.
This has been and always will be my biggest dilemma. My opinion is always changing. I have a very amazing tripod that I use in Canada, but because it’s heavy and bulky, I DO NOT bring it traveling!
Yes, you heard correctly, the Uncharted Backpacker does not travel with a tripod often.
Many times when I wish I had one with me but didn’t, I simply would place my camera strategically on my side bag and macgyver a shot.
This doesn’t mean I am telling you not to bring one. I would just rather save space in my bag for cool things that I buy while on the road.
If you can afford the extra weight and don’t mind, then yes bring one as they can help a lot.
Should I shoot RAW or JPEG for travel?
This is a touchy subject where travel photographers alike often get in arguments. Do you shoot in RAW or JPEG?
Now, this is just me, but I prefer to shoot in RAW. If you do great work in JPEG then keep with it! But if you would like to explore the realm of RAW photos you wont be let down!
When I travel, I shoot almost all of my photos in RAW, but lets first explore the difference.
RAW is a setting that is best described as making photos into a dimensional cube. At first glance, these photos are gray and dull, but that is because they need to be edited to reveal the image’s true potential.
There is no way getting around it, RAW is far superior to JPEG in terms of quality. Why do I choose to shoot in RAW? Because shooting in RAW will allow you to push your photography further in editing.
RAW images provide so much more opportunity to be creative and if you sell photos more than often the buyer will want a higher quality RAW photo.
JPEG It’s a simpler more compressed version of a RAW image.
Just because it’s a JPEG doesn’t mean you can’t get a quality shot. With JPEG you can afford to shoot more photos, and not worry about your SD filling up.
When you shoot JPEG you also get a clear idea what your photo will look like right off the bat.
Drone Travel Photography
I never travel without my drone (unless the law tells me I cant!). There are so many drones on the market now all offering such exciting new specs. But the big question is, Should you get a drone for travel?
My answer is a resounding YES! Drones can offer so much for the creative travel photographer. Drones open up a whole new world of angles and opportunities that only the affluent can afford by renting a helicopter.
I have the DJI Mavic Pro 2, its a 20 mp insanely cool drone that can output RAW format and 4k video. I highly recommend this.
If you would like to learn more about Traveling with a Drone you can see my Drone Guide HERE
Getting Your Photography Out There!
Getting your travel photography noticed can be difficult. With countless travel bloggers and tourism on the rise, it’s an intimidating experience. With the right eye and attention to detail, it’s not impossible. Things like following travel trends, and how the pros edit their photos is key. Most of all, keep doing what you like to do! Here are a few platforms I enjoy sharing my travel photography.
Facebook – The biggest of them all right now. Facebook gives you the opportunity to share your photos with your friends and family. Joining travel photography-related groups allows you to take those same photos and share them with people who have the same interests as you.
Instagram – This app is great for photo sharing. It lets you share your photos to different pages using hashtags that are relevant to your photo. It’s also a great place to get inspiration from other photographers.
Nat Geo ‘Your Shot’ – My personal favorite photo sharing platform is Nat Geo’s new ‘Your Shot’ website. This website lets you make a profile and share your best travel shots. They ask that you keep the photos as original as possible, and don’t use much for editing. You also get the chance to be published in National Geographic!
My Adventure Travel Photography
With over 11 years travel photography experience, I can tell you I have an enormous amount of photos. I tend to only feature some of my favorites.
My photography has been featured on some big-name companies like National Geographic, Lonely Planet, World Nomads and Business Insider.
You can see some of my travel photography in the following links:
Travel Photography Tips Video
Get Lost On Purpose and Have Fun!
Taking great photos is not all about the destinations you go to.
The old saying “it’s not the destination, but the journey”, pairs well with Adventure Travel Photography. Getting lost in it all is when I get some of my best shots! You never know who you will bump into, or what will happen when you least expect it.
Choosing to go off the beaten track you can also discover hidden sights that are not in the guide books and really get a unique photo. These photos are not just some of my best shots, but my best memories as well!
So get lost, and have fun doing it!
Backup Your Photos
If you are shooting photos professionally than it is essential that you back up your photos in multiple different ways. Losing important photos on a client could spell disaster for you.
Even in travel photography, you still want to make sure that you don’t lose any photos as some shots can be once in a lifetime opportunities.
I recommend that you try to back up your photos every time you have access to a computer. There are plenty of different ways that you can go about doing this as well.
Cloud Storage – There are plenty of options when it comes to uploading your images for online storage. Dropbox and Google Drive are two simple options that will give you a place to backup photos in the cloud in case you lose any of your storage devices.
Extra SD Cards – Some of the high-end DSLR’s give you the ability to write your images to multiple storage cards at once allowing you to instantly have two copies of your precious photos. Even if you don’t have one of these high-end cameras I recommend that you still pick up some extra cards in case you happen to lose one. Also, be sure that you buy good quality SD cards. If you are not sure, read reviews online beforehand.
Hard Drives – It is a good practice to make copies of your images on multiple storage devices in the case that one craps out which is more common a problem than one might think. You can pick up external hard drives that are very cheap from places like Amazon which connect to your computer via USB and which are also a more portable copy of your files.
Travel Photography Resources
The Best Travel Photography Cameras
On a budget: Nikon D5500
Mid-range: Canon 6D Mark II
High end: Sony A7RIII or if you want even better, the newer Sony A7riv(linked is the body only)
The Best Travel Drones
On a budget: DJI Spark
Mid-range and portable: DJI Mavic Pro
High end: DJI Phantom 4 Pro



very nice
Thank you, I hope it was helpful!
Hello!
Thank you for sharing is article. It is very honest and informative. You discribe everything very open without trying to “sell” something expect the beauty of nature and the job of a travel photographer itself.
Thanks again. It was very helpful.
With kind regards,
Anuschka
Thanks for the comment and I’m glad you found it helpful!
Everyone will have their own opinions on how best to get into travel photography but this is just how I did it 😉
Your photos look amazing! What lenses do you use when travelling?
Sony Zeiss
Cool! May I ask which one(s)? The 16-70 F4?
Cheers!
Ah, I already see it on your other page; the 24-70 f2.8. Thanks!